1. Login to your cPanel account.
2. In the Software section, click on the Installation Applications Installer icon.![]()
3. cPanel will redirect you to the Installatron Applications Installer Panel.
4. On the top right of the screen, you should locate the Applications Browser and click it.
5. Scroll down and locate the Apps for Content Management category. Click on the WordPress icon that appears.
6. On the top right of the screen, click on the Install this application button.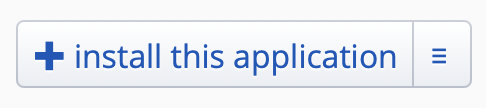
7. Under the Location section, enter the following information:
- Domain: Select the domain you wish to install WordPress on.
- Directory (Optional): If you wish to install WordPress in a directory on your website you should enter it here or remove it to install it on the root of your site (/).

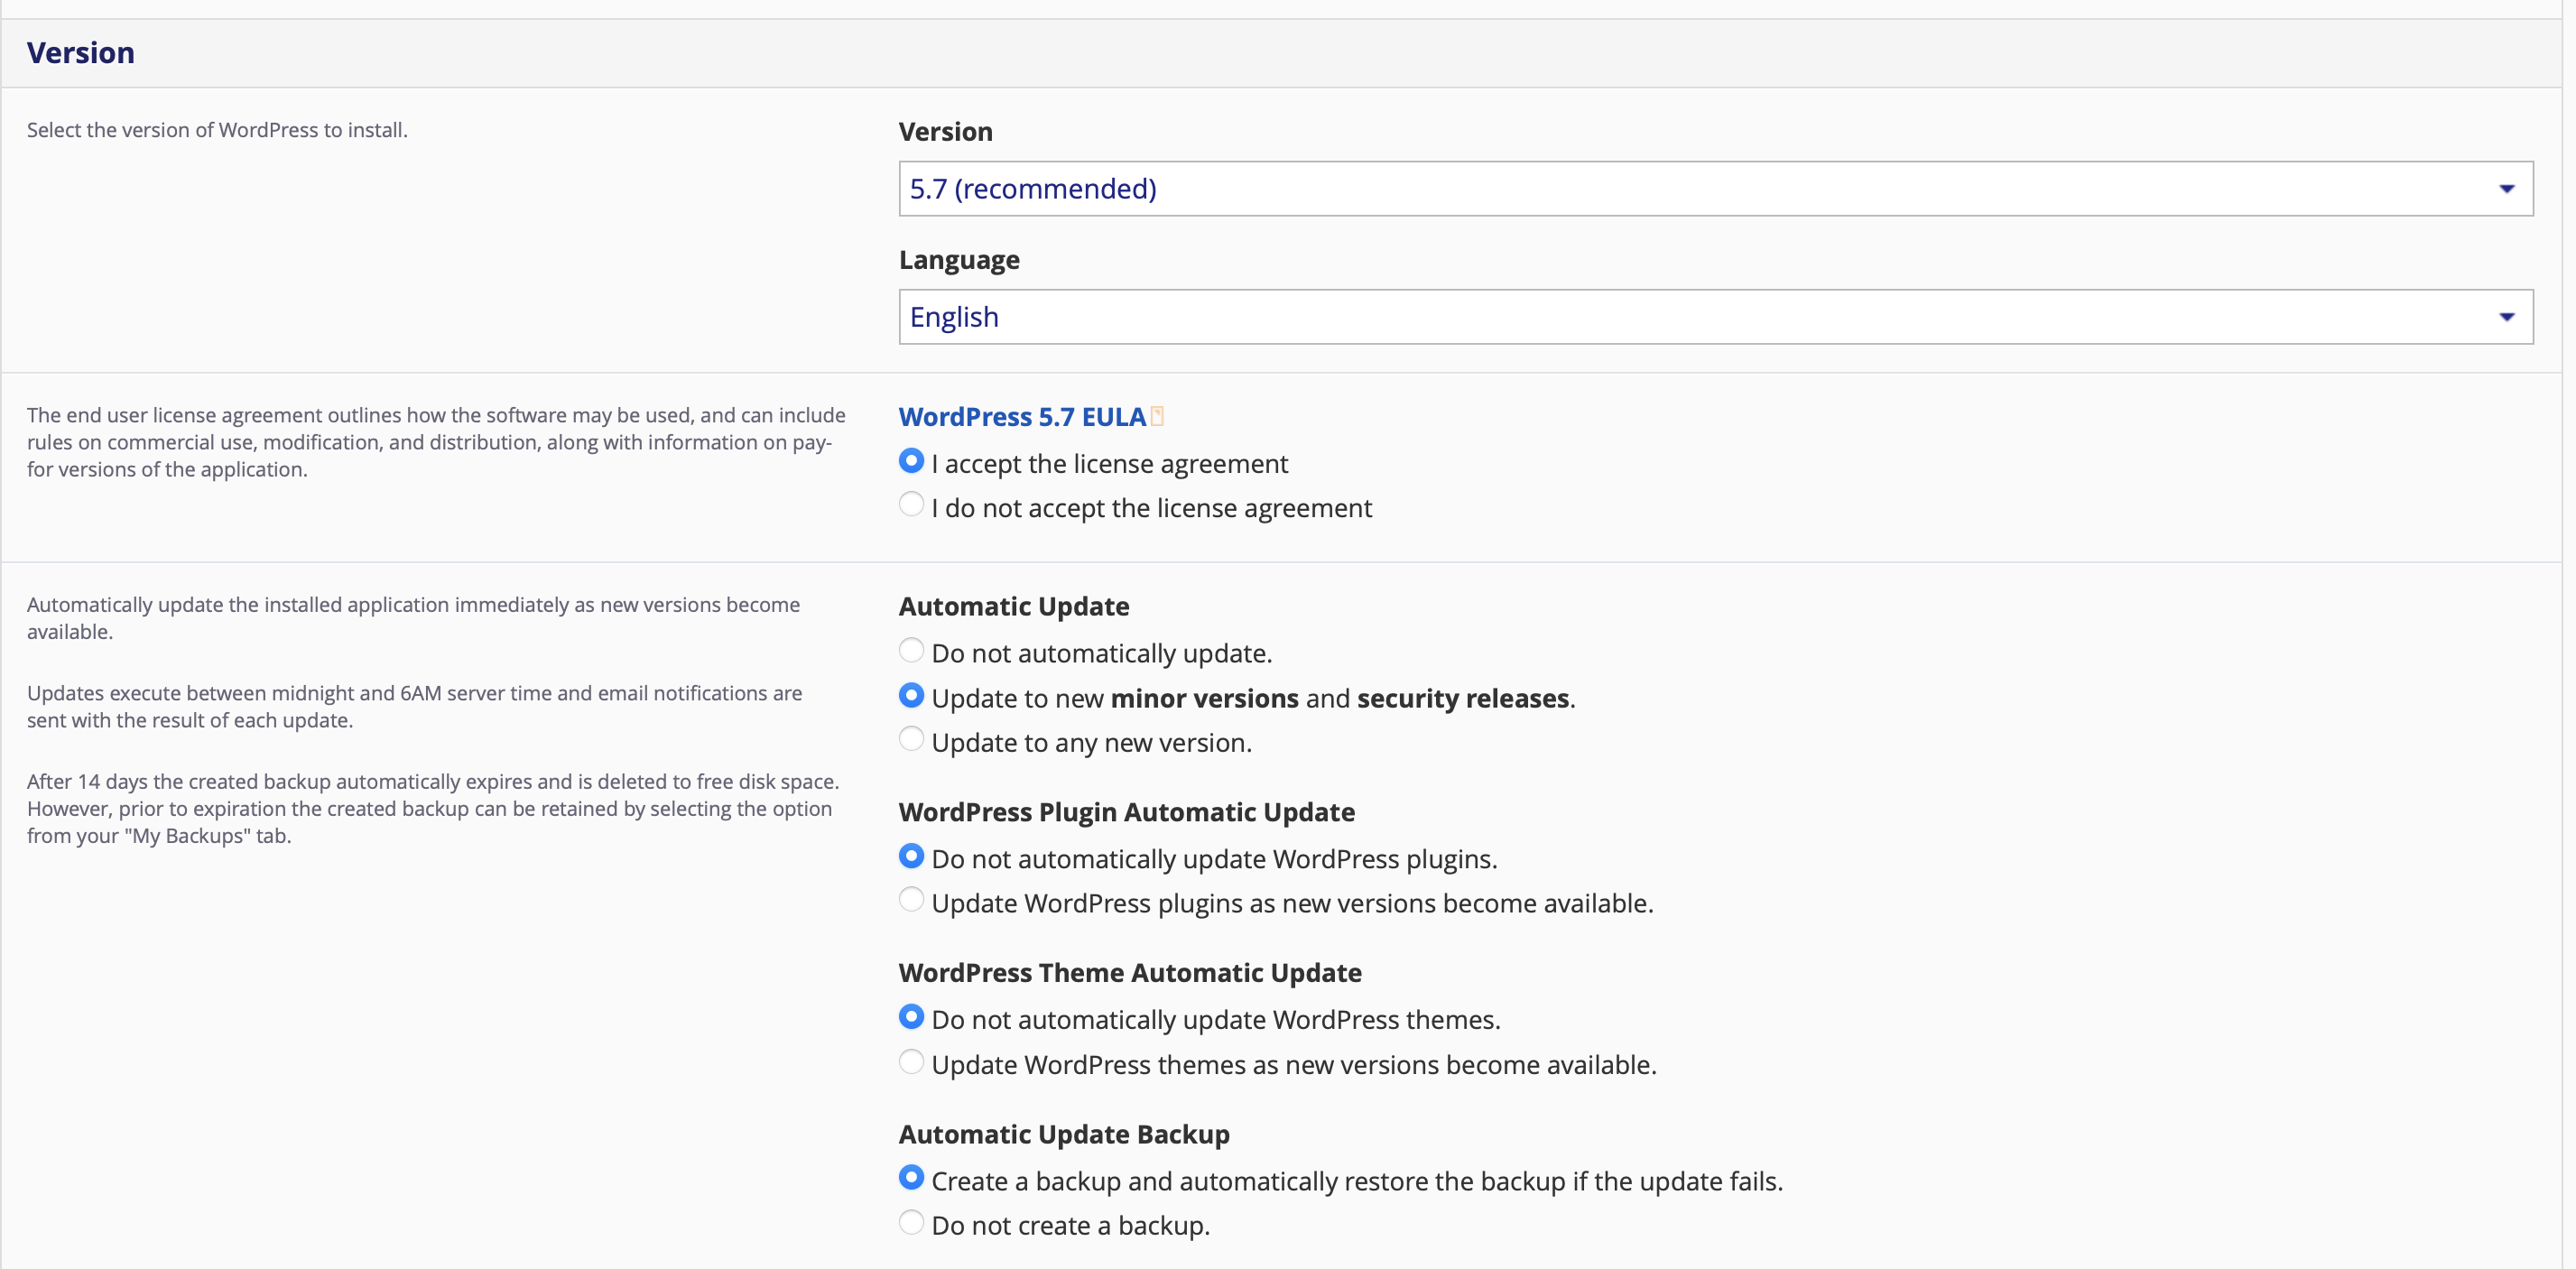
8. Under the Version section, enter the following information:
- Version: Select the version of WordPress you wish to install, the latest version will be selected by default.
- Automatic Update: Choose if you'd like to automatically update the installed application immediately as new versions become available.
- WordPress Plugin Automatic Update: Choose if you'd like to automatically update WordPress Plug-Ins as new versions become available.
- WordPress Theme Automatic Update: Choose if you'd like to automatically update WordPress Themes as new versions become available.
- Automatic Update Backup: Choose if you'd like to have a backup made prior to performing updates in case there is a problem it will revert to the backed up version.
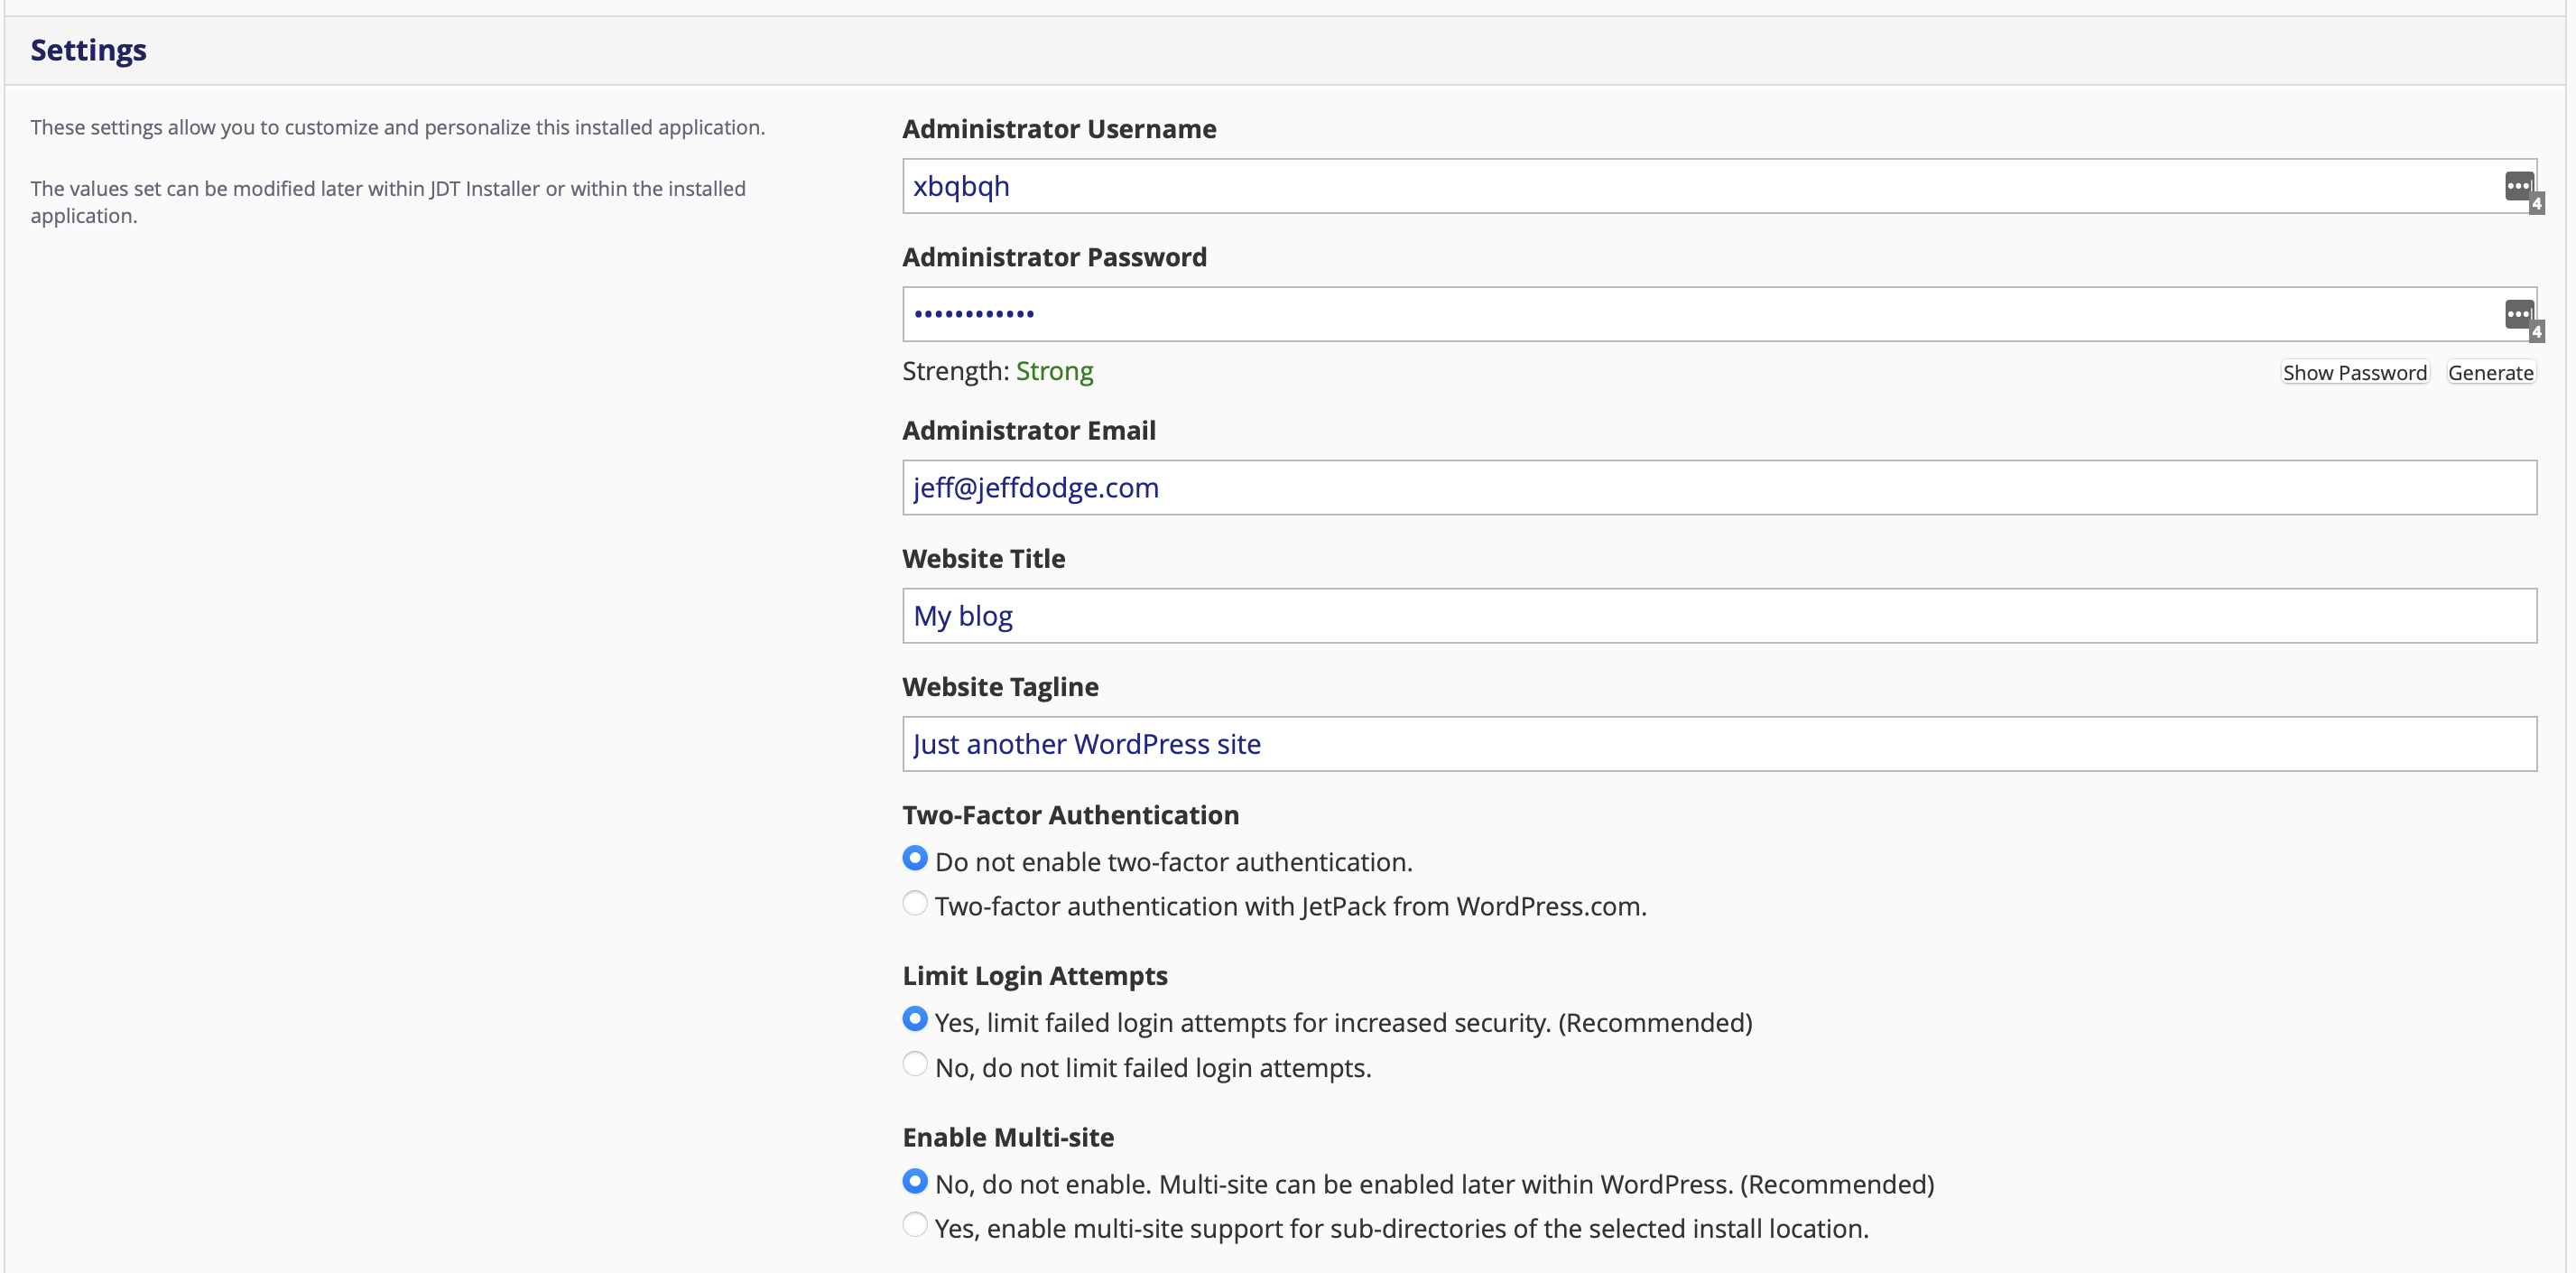
9. Under the Settings category, enter the following information:
- Administrator Username: Your new WordPress username (for security reasons a randomized username will be generated) but you can change this to what you like.
- Administrator Password: Use a strong password.
- Administrator Email: Your e-mail address.
- Website Title: Enter the name of your website, such as my first website.
- Website Tagline: Your site description.
- Two-Factor Authentication: You can enable two-factor authentication with JetPack from WordPress.com which will enable additional security.
- Limit Login Attempts: This will limit failed login attempts for increased security. (Recommended)
- Enable Multi-site: Leave this as it is.
Note: Copy the admin username and password on a notepad because you will need these login details to access the admin area of your WordPress blog later.
10. Under the Advanced category, leave these settings as is.

11. WordPress is now installed on your site!
